Shooting interviews in a studio can be an ideal scenario. You’ve got a nice large open space with background options, plenty of lighting and grip, and usually great acoustics and silence when you need it. However, none of that comes for free and without restrictions. Studio time can range from $200/hr to multiple thousands of dollars per day. And it’s not often possible to get all of your interview subjects into the same studio on the same day. So sometimes you have to bring the studio with you. Here’s how we do it.

Option 1: Setup A Background
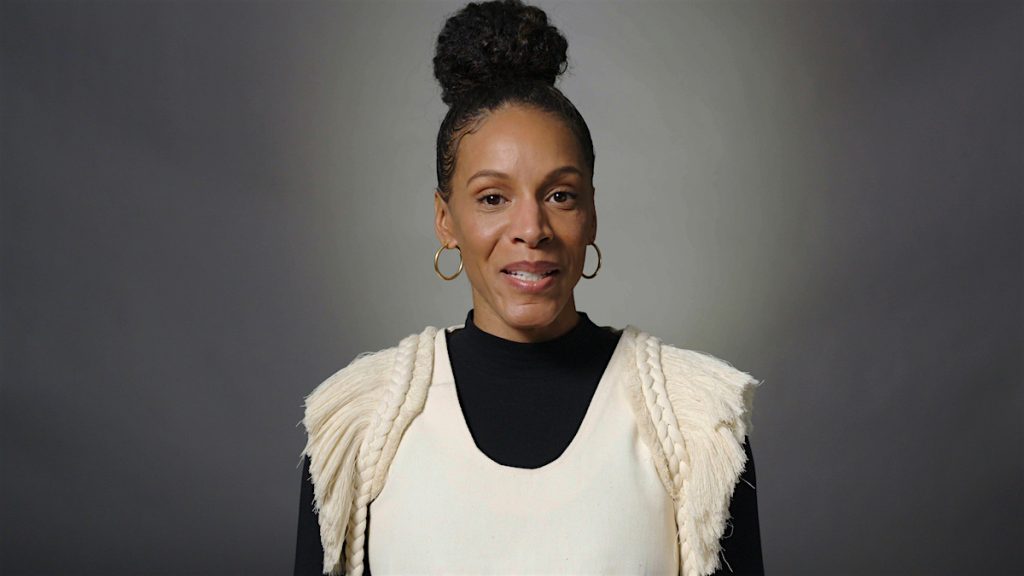
When recreating a studio look in the field, we almost always use gray paper. It’s cheap, it’s versatile and it looks great. We use this seamless gray paper from Savage, but there’s other tints of grey and other manufacturers. Paper offers a couple advantages over cloth. One, it has a subtle, varying texture to it that just barely comes out on camera but adds a really nice level of depth and character to the background. Two, it never needs to be ironed to remove wrinkles, and if you’re careful rolling and unrolling, can be re-used multiple times. It can also range in brightness level very easily, ranging from nearly black to nearly white, simply depending on how you light it. But the reason we go for the seamless gray paper is because it closely matches what you’d find in a studio – either a roll of seamless paper or a painted wall. And all you need to put it up in the field is a couple light stands and an adjustable backdrop pole.

Option 2: Find A Background
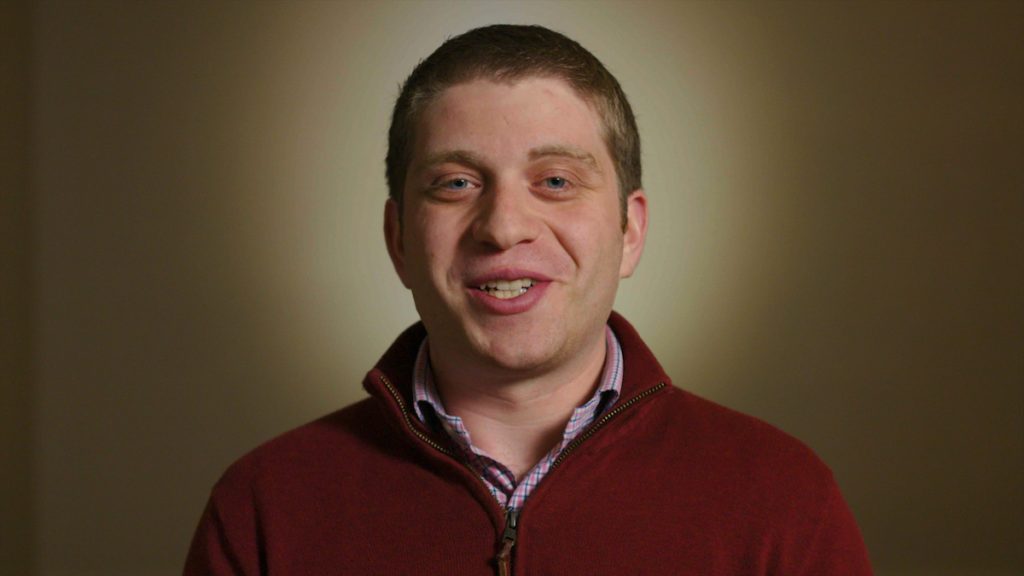
A roll of paper is fairly easy to bring, but maybe you are traveling even lighter, or your production plans change in the field. Maybe you expected the setting of your interview location to provide visual context for your subject, but find that it doesn’t fit the visuals you were hoping for. The hotel rooms and ballrooms where you may be meeting your subjects rarely communicate much about who your subject is or what they are doing. That’s where pivoting to an interview look that’s more abstract and modern, something like you’d achieve in a studio, comes in handy. You can recreate the look of a backdrop using a simple solid color wall or curtains. The shoot that created the image above was produced in a hotel foyer, simply using the existing drab taupe wall. The key is to frame the interview in a way to hide everything else, and get a large enough surface area for the solid background. It’s not always possible, but when it is, can offer a great alternative to an uninspiring space.
Lighting Setups
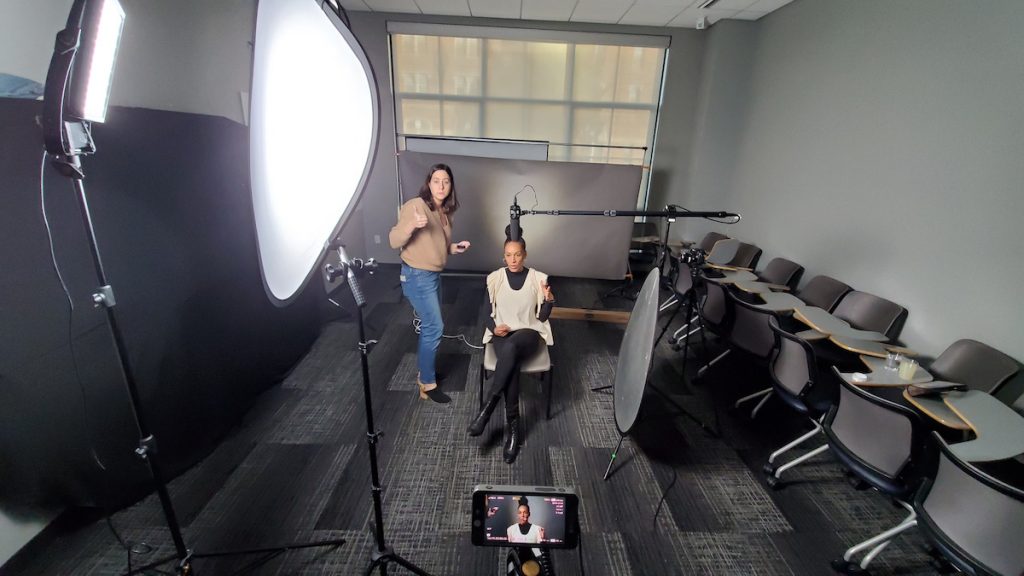
Replicating studio lighting in the field with a small lighting kit is relatively straightforward. We usually shoot our Astra 6X panel through a large one-stop diffuser (this or similar) as the key, and then use a small fresnel to create a spotlight on the backdrop or background. We supplement with fill and backlight when necessary, but this brings the total amount of lights to 2-3, plus a couple modifiers. The goal is to get the subject far enough away from the background to control spill from the key to allow for the defined spotlight and a gradual fall-off. You’ll also have to be in a space that allows control of all the other lighting sources, but this is usually easy if you’re in a conference room, hotel room or office.

You can see how simple this lighting setup is, yet still allows us achieve a professional look. The Astra 6X is on the left for a key, there’s a reflector next to the subject, and a small fresnel placed on the floor behind the subject to light the backdrop. Notice how small the paper backdrop is. This size works well for a single person interview. For two or more people you’ll need to size up to the larger paper. Generally we’ll shoot with a 50mm lens at f2 to get a shallow depth of field (on the Sony FS7), and add an additional angle when required. In this shot we have an extreme side angle 2nd camera, and hung a black drape so that the resulting shot is very minimal. Hopefully the next time you’re thinking of creating a studio look in the field, some of these tips will be helpful.